
Installing a screen takes a day if the site is ready, and a week if the site has to be prepared as you go. The difference is almost always the same: the power has not been run, the wall turned out not to be the one on the drawing, there is no way to get a vehicle to the spot. Below is a list of what is done before the crew arrives, and what we take on ourselves.
The starting point is simple: before installation the customer receives from us a technical specification for the electrics with a calculation of power lines, breakers and low-voltage cabling. Everything described below will be worked out in that document for your particular screen. The general order of work is set out on the Installation page.
Electrics: a dedicated line, not a spare socket
An LED screen is a load on the scale of a small machine tool. It is calculated from the rated watts per square metre, and the data sheet always gives two figures: peak and average power.
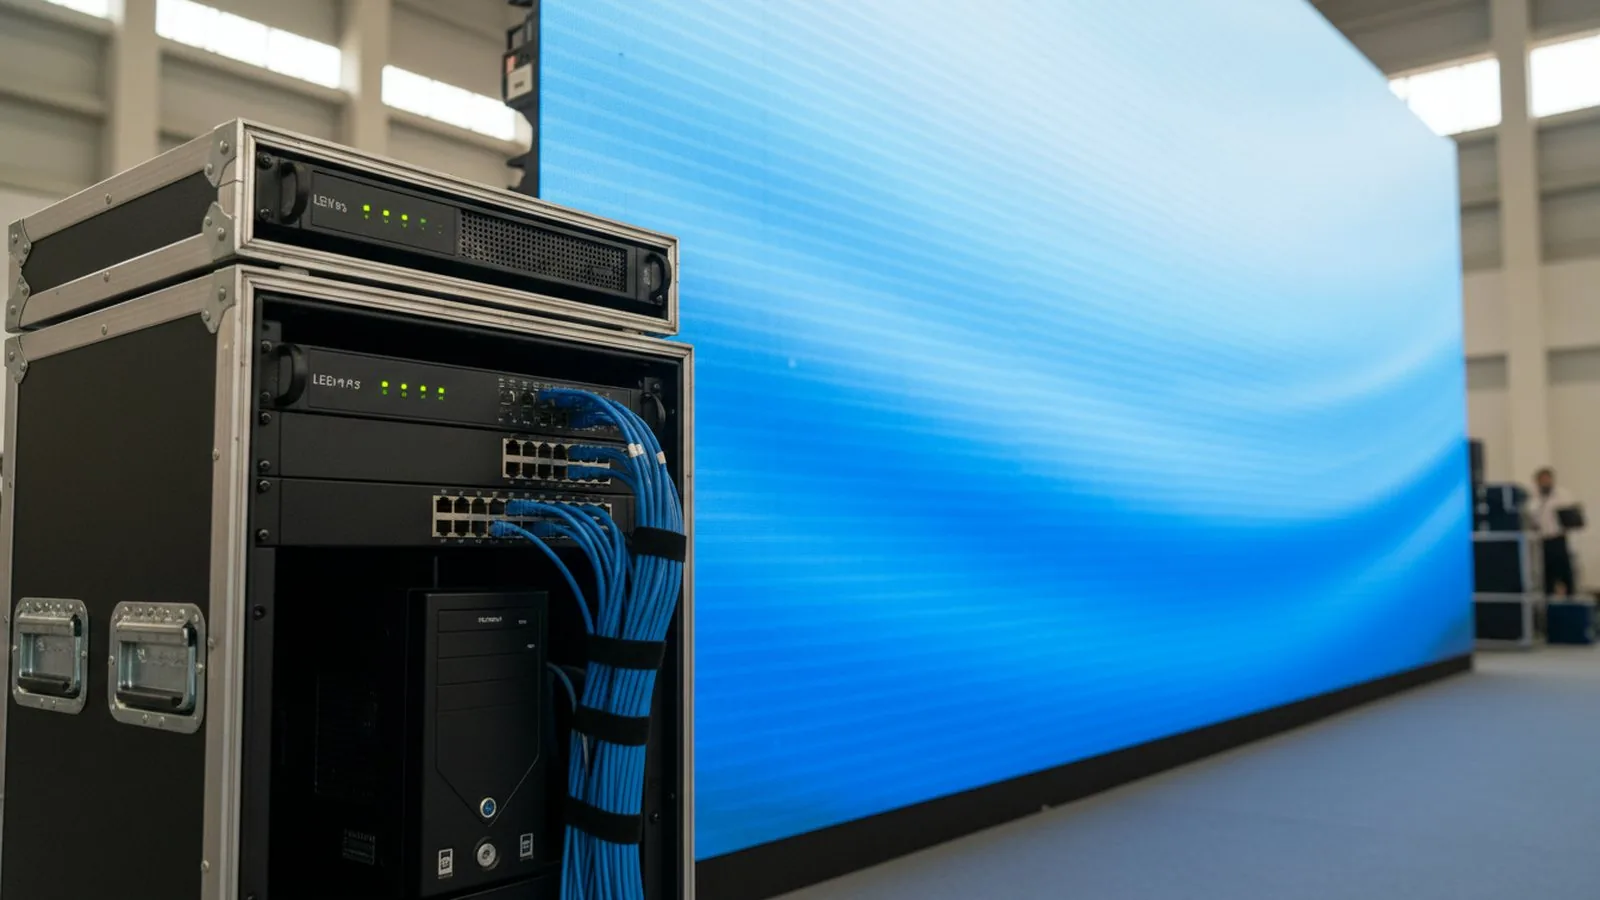 The processor and the cabling need space and power: the rack goes next to the screen or in an adjacent room.
By catalogue model:
- indoor screens — from 300/100 W/m² on the P0.93 to 800/320 W/m² on most series; P1.95 is 600/240, P2.5 is 700/300;
- outdoor screens — 650/220 W/m² on the module and cabinet series built on the 320 × 160 module, 800/320 on the 500 × 1000 P3.91 cabinet;
- mesh — 800/240 W/m²;
- media facades — from 560/187 W/m² on the P50 to 1,200/480 on the P15 and 1,434/478 on the P31.25.
Then it is multiplication. An indoor P2.5 screen of 5.12 × 2.88 m (14.7 m²): peak power 700 × 14.7 ≈ 10.3 kW, average about 4.4 kW. An outdoor screen of 16.6 m² on 960 × 960 cabinets at P8: peak 650 × 16.6 ≈ 10.8 kW, average 3.7 kW.
The supply is sized by the peak. The average is useful later — for estimating the electricity bill, but never for choosing the cable.
What has to be prepared:
- A dedicated line from the distribution board to where the screen goes. Not a spur off the hall’s socket circuit and not an extension lead — the screen switches on and off as a whole, and the inrush current is noticeable.
- A breaker of the right rating. For a typical outdoor screen we plan 25 A lines for every 10 m² of area; the exact number of lines and their ratings come in the technical specification. When the peak stops fitting into a single-phase supply, a three-phase 380 V supply is planned — that too is visible from the calculation in advance.
- Earthing. Mandatory both for the screen itself and for the steelwork. For an outdoor screen on a facade this is not a formality.
- An RCD on the screen’s line — especially outdoors and in damp rooms.
- Sockets at the operator’s position: video processor, control computer or media player, network equipment — usually 3–5 sockets and their own breaker. If the screen must never be left without a picture, a UPS goes here as well.
- Cable routes — trunking or tray from the board to the screen and from the rack to the screen. Nobody is going to chase the wall on installation day.
The power supply is run by the customer’s electrician. We arrive to finished terminations — that is how installation fits into a single visit.
Wall, fixings and steelwork
A screen weighs 30–60 kg per square metre including the frame. The data sheets show the detail: an indoor 640 × 640 cabinet is about 16 kg, a 640 × 480 about 12 kg; an outdoor 960 × 960 is 25 kg; a 500 × 1000 cabinet is 11–15 kg depending on the model. A 1000 × 1000 mm mesh panel weighs 7.5 kg — that is the exception, and it hangs on a light sub-structure.
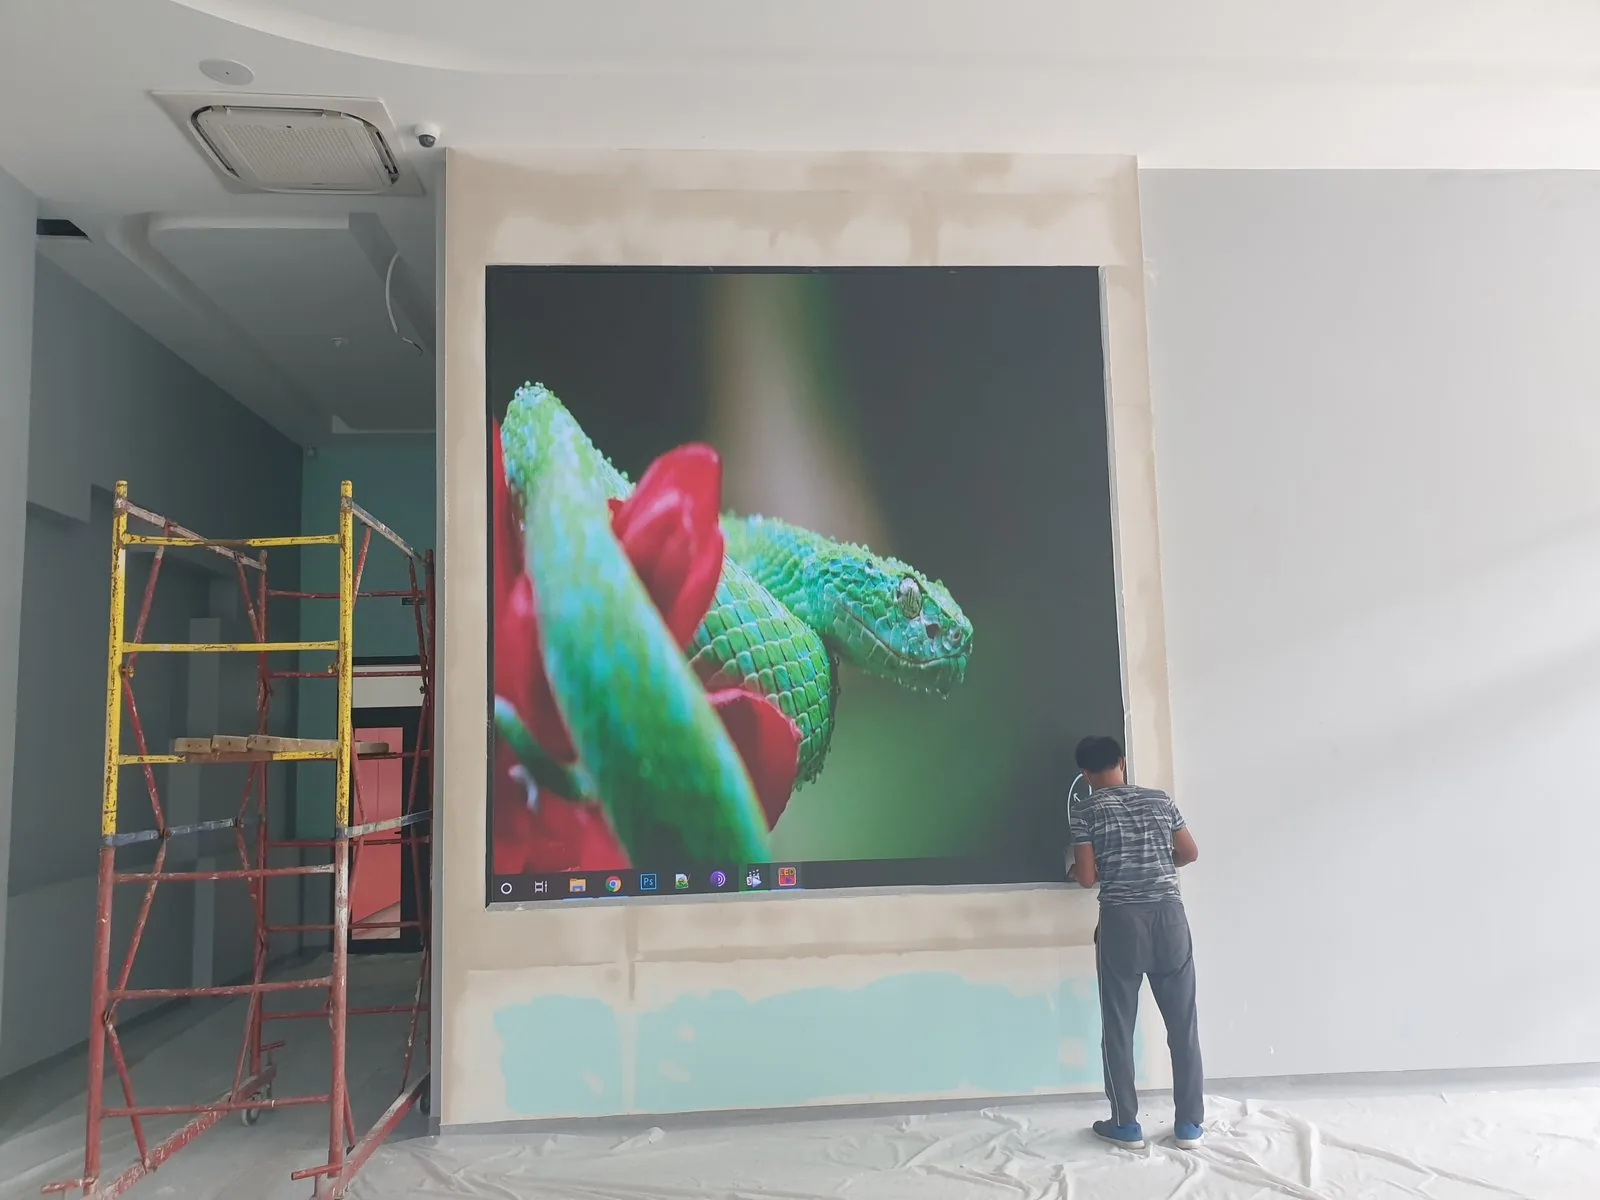 Installation in the assembly hall of the Shokan Ualikhanov school: the frame is assembled before the cabinets go onto it.
Before installation you need to know:
- what the wall is made of — brick, cast concrete, aerated block, ventilated facade, plasterboard on studs, glazing. The anchor, and indeed whether fixing is possible at all, depends on this;
- what is inside the wall — concealed wiring, pipes, ventilation ducts. We carry out the survey ourselves, but the customer will have to ask the operating company for the service drawings;
- whether there are cast-in plates. If the building is still going up, the cheapest solution is to set plates for the future frame during the finishing stage. Later this costs several times more;
- who approves it. In a shopping centre, in a school, on the facade of a residential building, fixing to the wall is agreed with the operating company or with the building’s designer.
We design and weld the frame for the specific screen and the specific base: we calculate dead weight, wind and snow loading, produce the drawing and the approvals, the anti-corrosion treatment and the paint — more on the Steelwork page. The structure is designed for servicing from the outset: front access to the modules, or a rear walkway for cabinet screens, and trunking for power and signal.
A frame built “to fit” by the site’s own builders is a common cause of misalignment, gaps between cabinets and trouble in the wind. If it has already been welded, show it to us before installation, not on hanging day.
Signal line and space for the rack
The picture travels from the video processor to the receiving cards over twisted pair. This is a separate low-voltage route, and it is prepared in advance too.
- The number of lines is calculated from the screen resolution and comes in the same technical specification. One spare beyond the calculation is usually planned: pulling an extra cable into the trunking is cheaper than coming back for it.
- Length. A single run of twisted pair works reliably up to about 100 metres — that is a limit of the cable, not of the screen. If the rack stands further away, that section is moved to fibre or the processor is moved closer to the screen.
- Where to put the rack. Next to the workplace of whoever will switch the screen on: the control room, the administrator’s desk, the sound operator’s booth in the hall. Power, the twisted pair to the screen and the signal source all come to the rack. Access and ventilation are needed: the processor and the computer must not sit in a closed cabinet with no airflow.
- The signal source. Decide in advance where the picture comes from: a laptop on stage, a desktop computer, a camera, a receiver. That determines which inputs the processor needs and which cables have to be run into the hall.
Access: getting in, lifting, height
A separate set of questions is how the equipment and the people reach the spot.
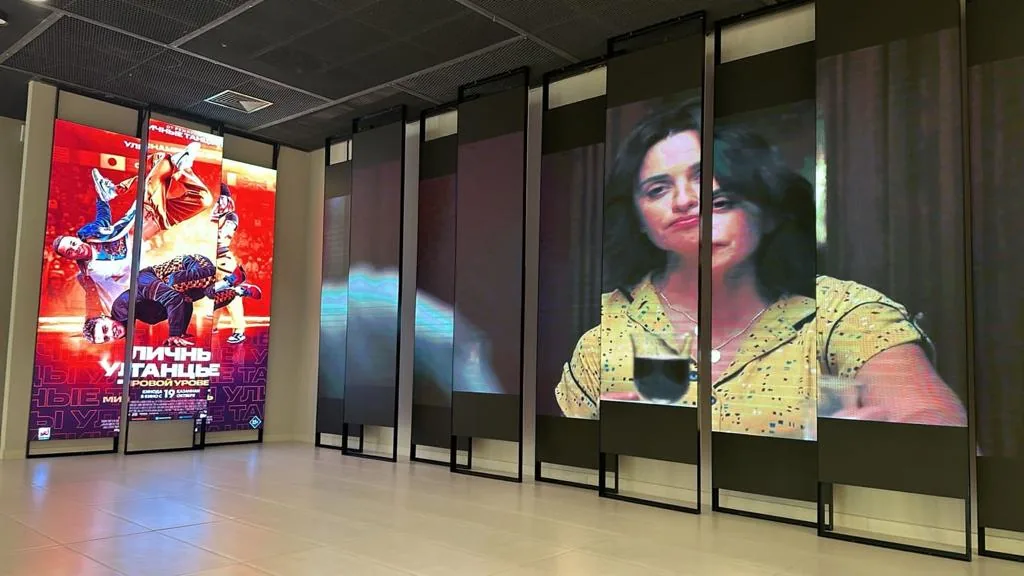 The FORUM shopping centre in Almaty: work on the facade is done from a lift, and its access is agreed in advance with the building management.
- Access and unloading. The screen arrives in crates; an outdoor 960 × 960 cabinet weighs 25 kg on its own, plus packaging. A place for the vehicle near the entrance is needed and, on a guarded site, passes for the equipment and the crew.
- Lift or stairs. A goods lift with an opening that takes the crate solves everything; without one the lifting is done by hand, and that is separate time in the schedule. Tell us the lift dimensions and the width of the openings in advance.
- Work at height. Facades, roofs, pylons — the crew has height-work certification and its own lift up to 22 m, and rope access technicians work where necessary. What is needed from the customer is a level, clear standing area for the lift with the required outreach and, if it blocks a roadway or pavement, approval for the duration of the work.
- Weather and the site’s routine. Outdoor installation is planned around the weather. In a shopping centre the work usually goes at night — agree out-of-hours access with the management. The 48 m² outdoor corner screen on the facade of Atakent Mall and the 100 m² at the Taldykorgan Palace of Culture are exactly the kind of sites where the installation schedule was set by the building, not by the crew.
What the customer prepares and what we do
The customer:
- a power line from the board with a breaker of the right rating, earthing, an RCD;
- sockets and space for the equipment rack;
- trunking and trays for the power and low-voltage routes;
- a finished wall or base, drawings of concealed services and, in new construction, cast-in plates;
- approvals with the operating company, passes, out-of-hours access;
- a standing area for the lifting equipment;
- a person who will be responsible for the screen and will be trained.
We:
- the technical specification for the electrics with the calculation of lines, breakers and low-voltage cabling — before installation;
- survey of the base, design, fabrication and installation of the steelwork;
- hanging the cabinets or modules with plane control;
- power and signal cabling, trunking along the wall;
- connecting the processor and the control computer, loading the configuration;
- calibrating brightness and colour, a test clip, checking every module;
- training the staff and handing over the documents.
Handover: what to check
Handover is not “we switched it on and there is a picture”. Check against the list:
- The plane of the screen. Gaps and steps between cabinets are not acceptable. Look along the screen at a shallow angle — head on, a millimetre of offset is invisible; from the side it shows at once.
- Every module. A test fill in solid white, red, green and blue reveals dead pixels, dark modules and colour differences between batches.
- Brightness and colour calibration — on the working content, not only on the test clip.
- Cabling. Cables tucked into trunking, connectors labelled, the top row accessible for servicing.
- Documents: the handover certificate, a data sheet with the serial numbers of cabinets and receiving cards, the wiring diagram, the configuration files, the warranty card, the video report. Three years from now, when a module is replaced, they will matter more than they seem to today.
- Training. Whoever switches the screen on every day should, in front of you, load their own clip and change the source.
The warranty on the equipment is 2 to 5 years depending on the model, and we keep a stock of modules, power supplies and cards in the warehouse in Almaty. For sites where the screen runs every day there is a service contract with scheduled inspections and remote monitoring — see Service. The indoor range is in the indoor screens section.
Every venue has its own site specifics: in schools and universities the assembly hall most often lacks a dedicated power line, in stadiums the issue is cable routes and lightning protection, on stages and in concert halls it is the rigging points. These details are covered on the solution pages.
Send us the dimensions of the place and photographs: the whole wall, the distribution board and the spot from which you plan to control the screen. From those we will tell you what to prepare in terms of electrics and structure, and price the screen together with the installation in one quote — with no surprises on the day the crew arrives.
See also

A turnkey screen: quote, installation, launch.
Send us the dimensions and location — a quote today. WhatsApp around the clock.